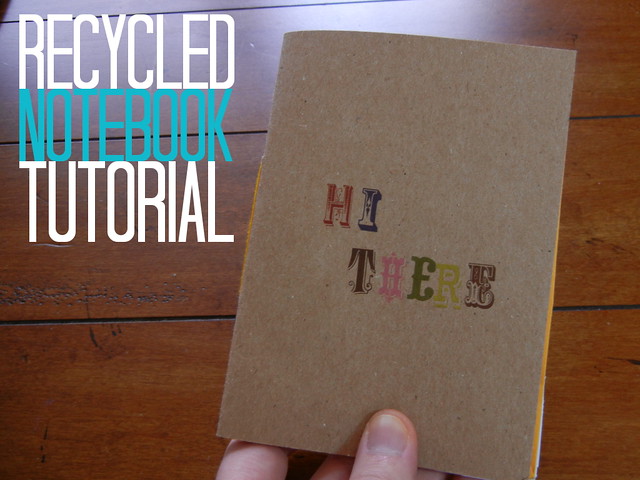
Hi everyone! This is Erin from EEF Etcetera and I've got a fun DIY for you! I wanted to make a simple tutorial that anyone can do, using things that you would otherwise throw out. I literally just grabbed things that were about to go in the trash and made this cute little notebook (with ephemera pockets!). It's a quick DIY and only took me about 15 minutes (including taking the photos!), so grab some trash and get to crafting!
You will need:
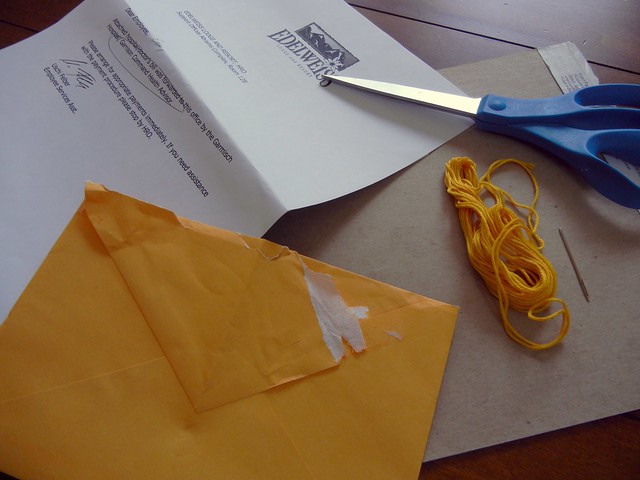
- Thin cardboard (I used the back of an old notebook, you could also use a cereal box)
- Paper (I used 5 sheets of barely-printed-on computer paper, you could also use notebook paper, magazine paper, etc. depending on what you want to use your book for)
- An envelope (mine was from a birthday card I got this year and is 5x7)
- Scissors and/or a paper cutter
- Needle and embroidery thread
- Push pins (optional, not pictured)

First you will need to make all of your pieces the same size. You can't cut the envelope and still put things in it, so the envelope will determine your page size. I cut my 5 sheets of paper into 10 (which when folded makes 40 pages). Cut your cardboard slightly larger than the envelope and paper.
Fold everything in half (get a good crease on everything), and then stack it, cardboard on the bottom, envelope, and then paper. Fold them all together.
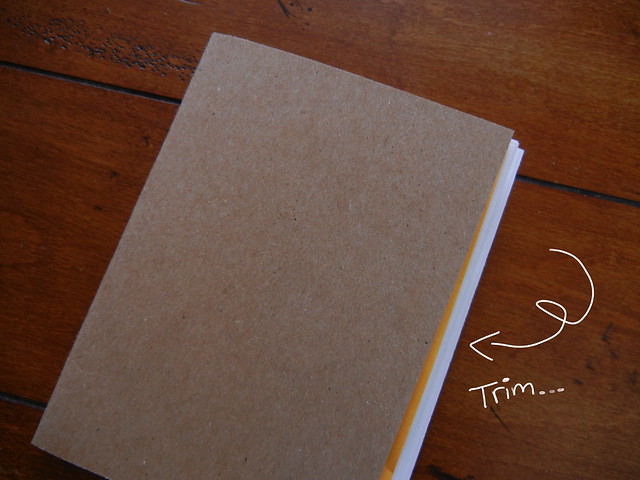
If you have a lot of pages like I do, you'll probably have the middle sticking out a bit. This bothers me, so I trim the middle down to size (don't trim your envelope!).

Okay, now that they line up I'm happier! It's time to sew this book together!
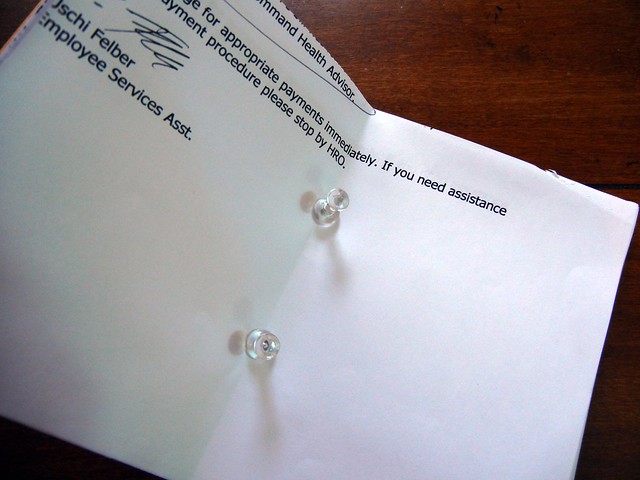
My needle wasn't sharp enough to punch through all of the pages and the envelope and cardboard so I punched through with two push pins. I used two so that the pages don't move between me punching one hole and then the other.
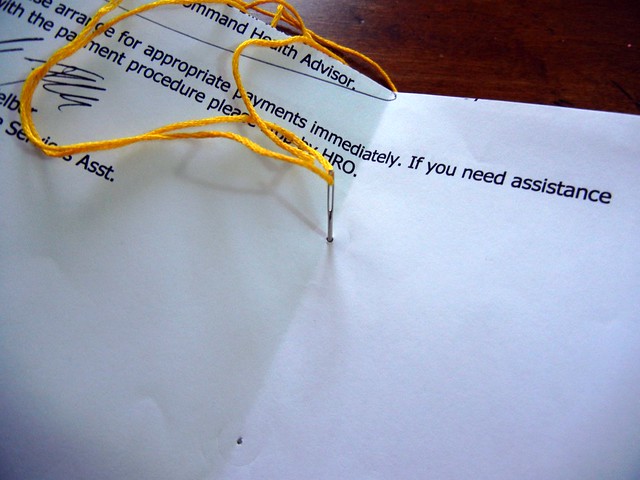
From the inside of the book, sew through to the outside. Don't pull the thread all the way through!
Now from the back, go ahead and sew back into the middle, being careful not to pull the thread out!

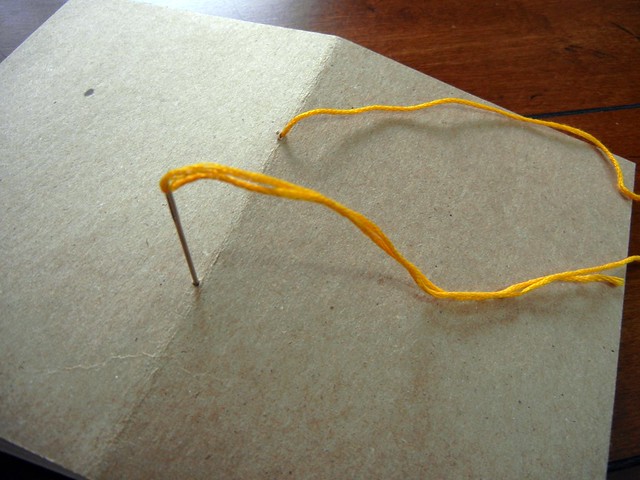
You should end up like this!

Make sure you pull the ends tight enough so that the book stays together. Shorten up your thread so you don't waste it, and tie a knot. Clip the ends.
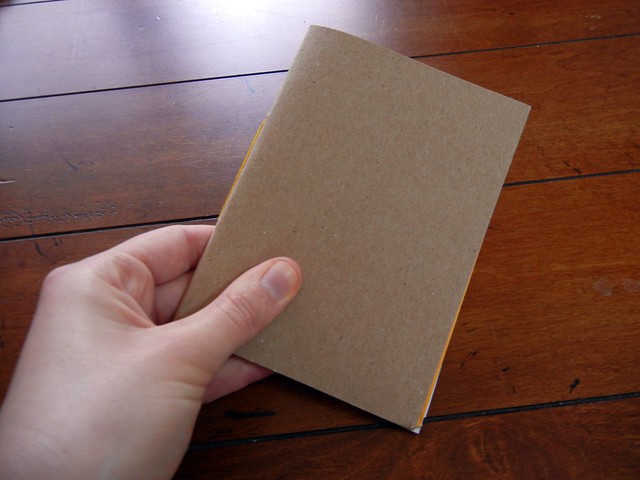
You can be finished now if you want, but I think it looks a little plain!
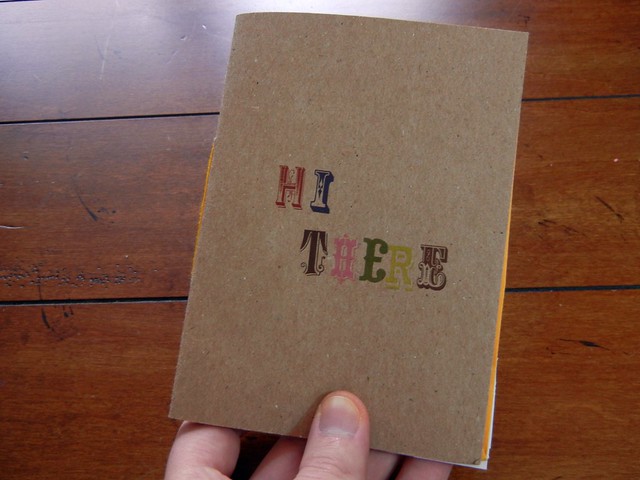
I added some rub-on letters, but you can decorate your book however you like. Make sure your design matches where the top of your envelope is! (you don't want your pockets upside down!)
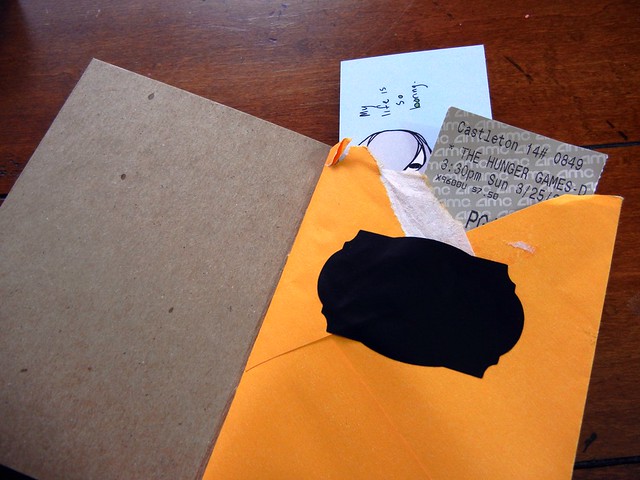
Did you notice you've got two pockets? One on the front and one in the back. My envelope was really torn so I stuck a sticker on it to keep things from falling out of the front pocket. If you open your envelopes less destructively, you probably wont need to do this.
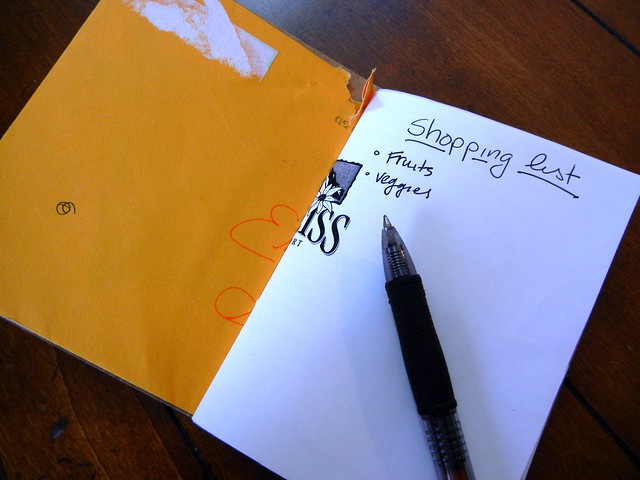 Use your book however you want! It can be a journal, notebook, art journal, or anything you want! Use the pockets to store ephemera or stickers/small supplies to use for on-the-go journaling.
Honestly, I'm going to be boring and use mine for grocery lists (because it's such a waste to use a new sheet of paper on a grocery list) and keep coupons in the pockets. I might make an art journal this way soon though, because it's super-easy and fast!
Use your book however you want! It can be a journal, notebook, art journal, or anything you want! Use the pockets to store ephemera or stickers/small supplies to use for on-the-go journaling.
Honestly, I'm going to be boring and use mine for grocery lists (because it's such a waste to use a new sheet of paper on a grocery list) and keep coupons in the pockets. I might make an art journal this way soon though, because it's super-easy and fast!