I'm sure you've seen my other mixed media bookmarks, but I made this set of 3 that I just had to share! I also did a tutorial, just in case you wanted to see my process. :)
Primary colors aren't usually my thing, but I'm really loving how vibrant these bookmarks turned out.


Supplies: Chipboard, Gel Medium, Paint Brush, Stencil, Gelatos, Clip Art, Stamp, Ink
2. Lay your stencil over top of your bookmarks and brush gel medium over the stencil. Remove the stencil and let the medium dry for texture.

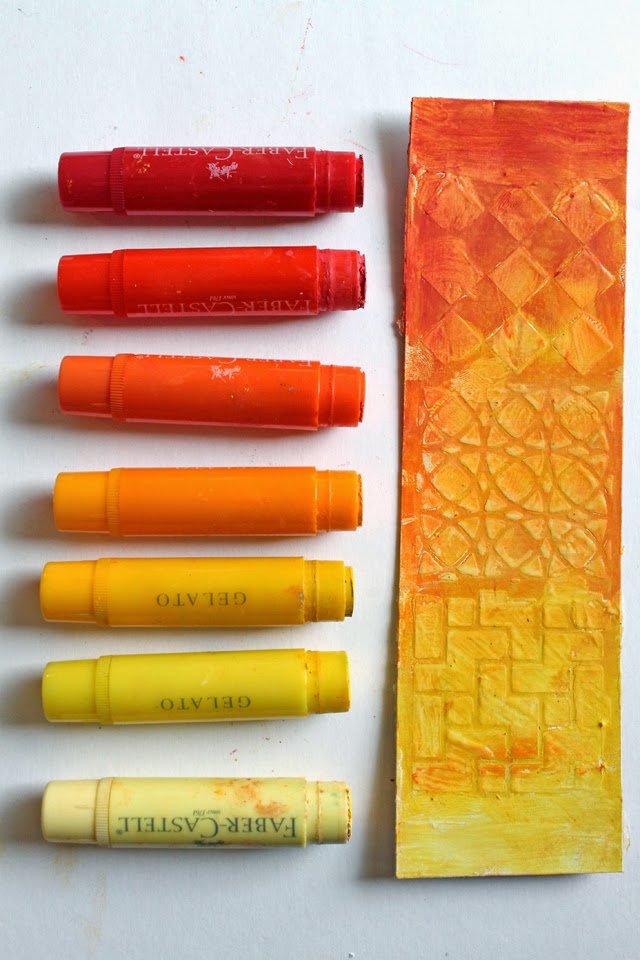
3. Once your gel medium is dry, it's time to color with Gelatos! I started with my lightest yellow and colored the bottom half, then I used various shades of yellow, orange and red to work my way up, creating an ombre look.
I rubbed the gelatos directly onto the bookmark, and then smeared them in with my fingers. They smear really easily on the gel medium.

4. Once the first layer of gelatos had dried, I chose some contrasting colors (blue and green.) and smeared them along the side. I misted these with a bit of water and let them run.


5. Next I used a stamp (from Paper Wings Productions) to stamp circles around on my bookmarks.

6. I cut around my clipart birds and glued them down onto my bookmarks. I printed out a few of my favorite reading/book quotes, cut the words into strips and adhered those down.


I finished them off by sealing them with a coat of Mod Podge.
What do you think? Do you like to make bookmarks?