*I received products as compensation for this post and this post contains affiliate links. If you purchase using them, I might get a small commission at no additional cost to you. However all opinions are my own and I love Tombow products.
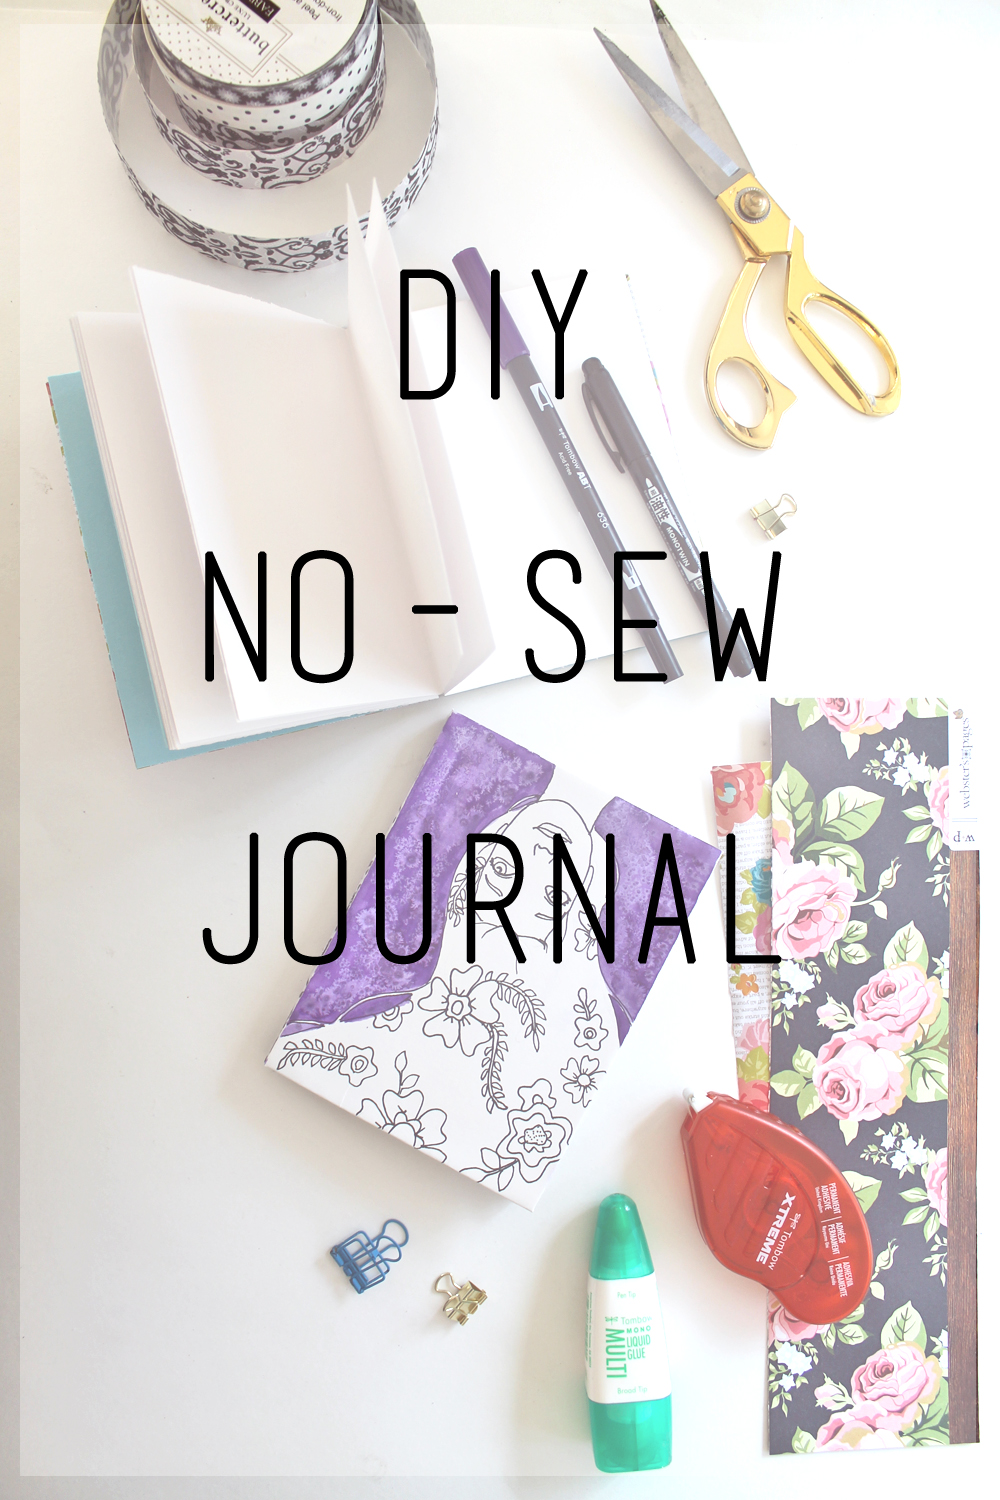
Today I am excited to show y'all how to do a really cool book binding technique called "Perfect Binding". Perfect Binding is actually a term for a type of binding, I promise that I'm not bragging that this journal is PERFECT, although it is a really easy no-sew technique.
Perfect Binding is a form of book binding where the paper signatures are glued rather than sewn, so I'm using Tombow's MONO Multi Liquid Glue.
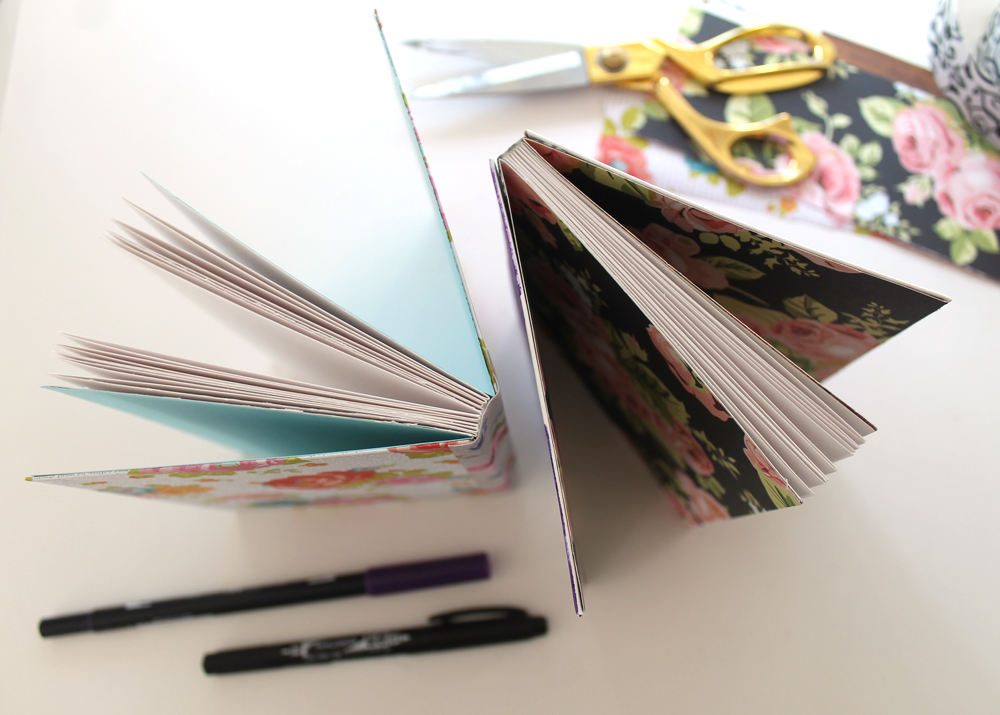
How to create a perfect bound journal:
Supplies for the journal:
- Mixed Media Paper
- Tombow MONO Multi Glue
- Tombow Xtreme Adhesive
- Scrapbook Paper
- Chipboard
- Fabric Tape
- Heavy Books or Book Press (to weigh it down as you bind)
- Craft Knife
Supplies to embellish the cover:
*You can change this measurement to change the size of your journal.
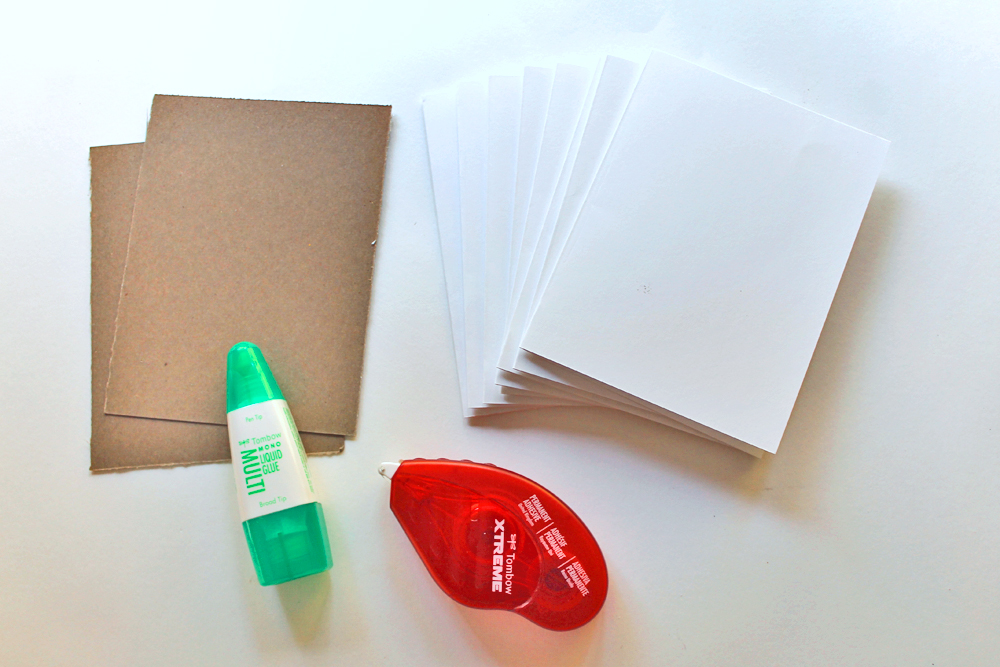
2. Stack your paper signatures and make sure they're all lined up. Next place it inbetween a stack of books, to weigh it down. This will ensure it stays flat and doesn't move while we bind it.

3. Use a craft knife to score shallow lines into the edges of the signature stack, crossing them like X's.
This gives the glue a bit more texture to hold onto so your journal is stronger once completed.
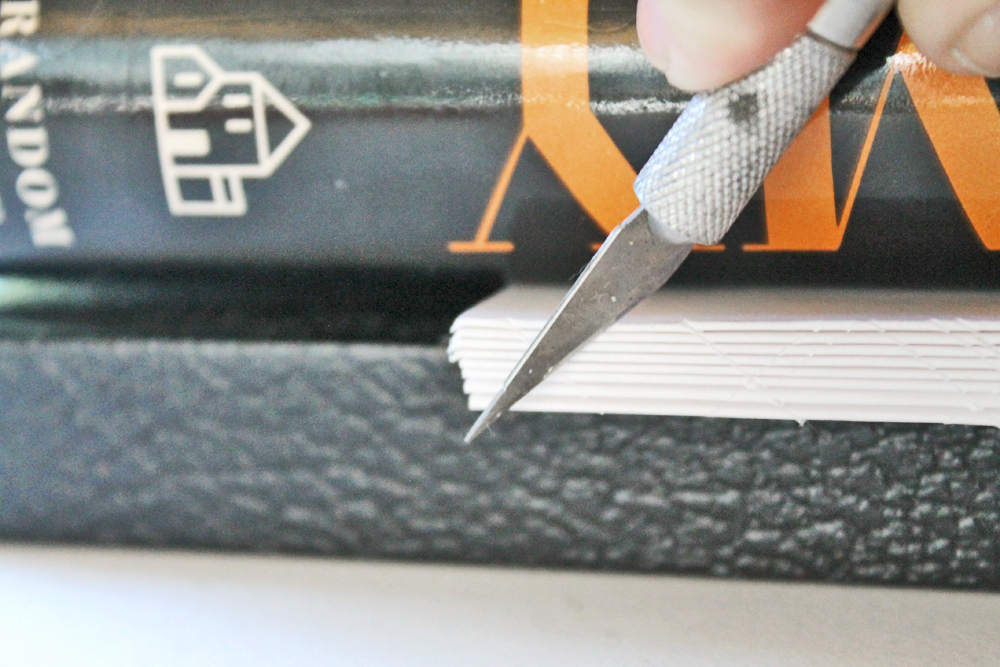
4. Use the broad tip of the MONO Multi Glue and apply a thin coat of adhesive to the edge of the signatures.
Let the adhesive dry and then give it a second coat. Let dry completely, but note that the glue will still be slightly tacky once dry.
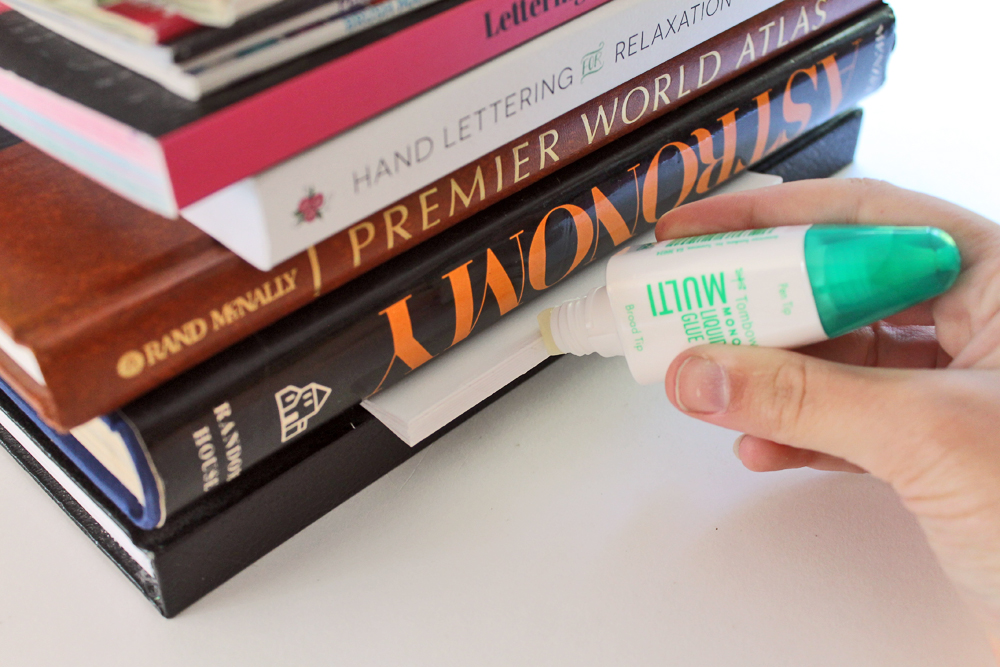
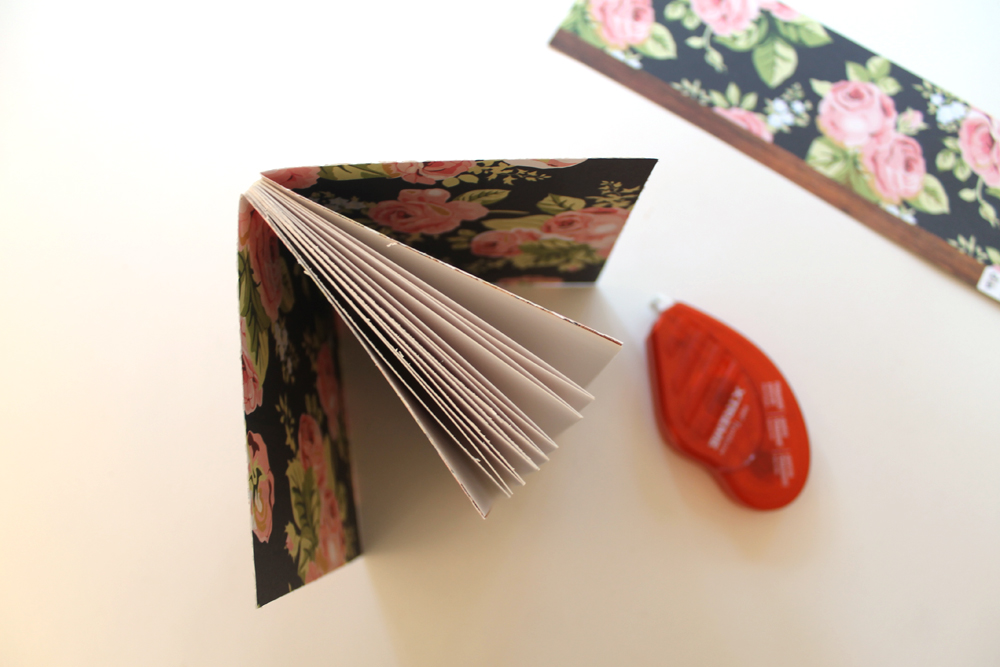
5. Remove your signature from the stack of books. You should have something like this:

6. Cut patterned paper or cardstock to 9x6" and fold them in half. These are your cover pages. Adhere one to each side of your signature stack with Tombow Xtreme Adhesive.

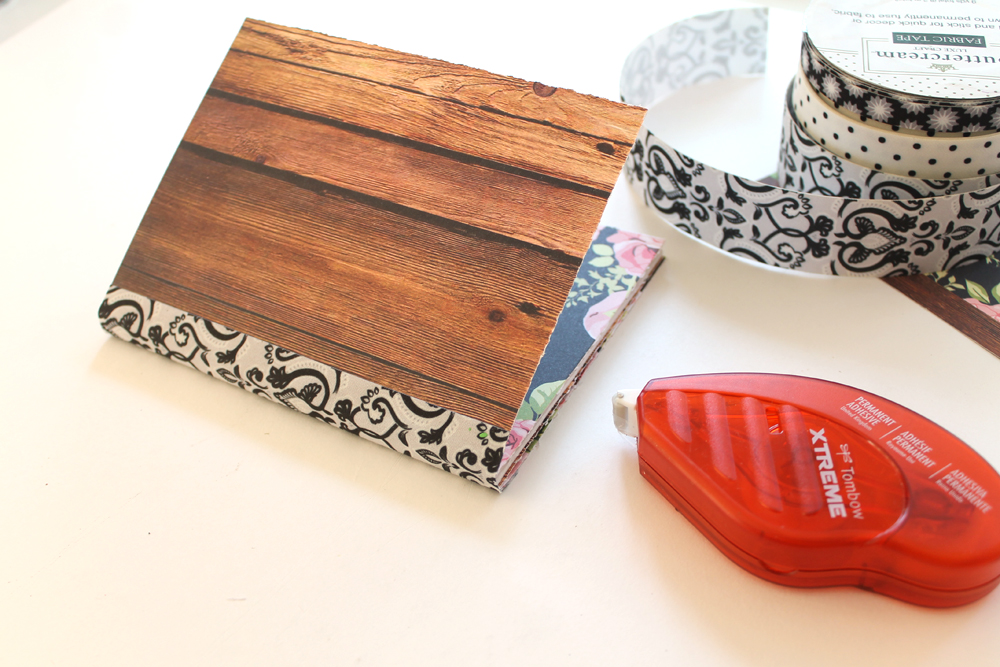
7. Cut a 6" piece of fabric tape (or fabric) and wrap it around the spine of your book, using Tombow Xtreme Adhesive to secure it to the cover pages.
Cut 2 4.5x6" pieces of chipboard and 2 5.5x7" pieces of mixed media paper. Adhere the chipboard pieces to the mixed media paper, notch the corners with scissors and fold the edges around the chipboard, securing them with Tombow Xtreme Adhesive.

9. Use the Tombow Xtreme Adhesive to adhere the covers onto each side of your book, adhering them onto the cover pages.
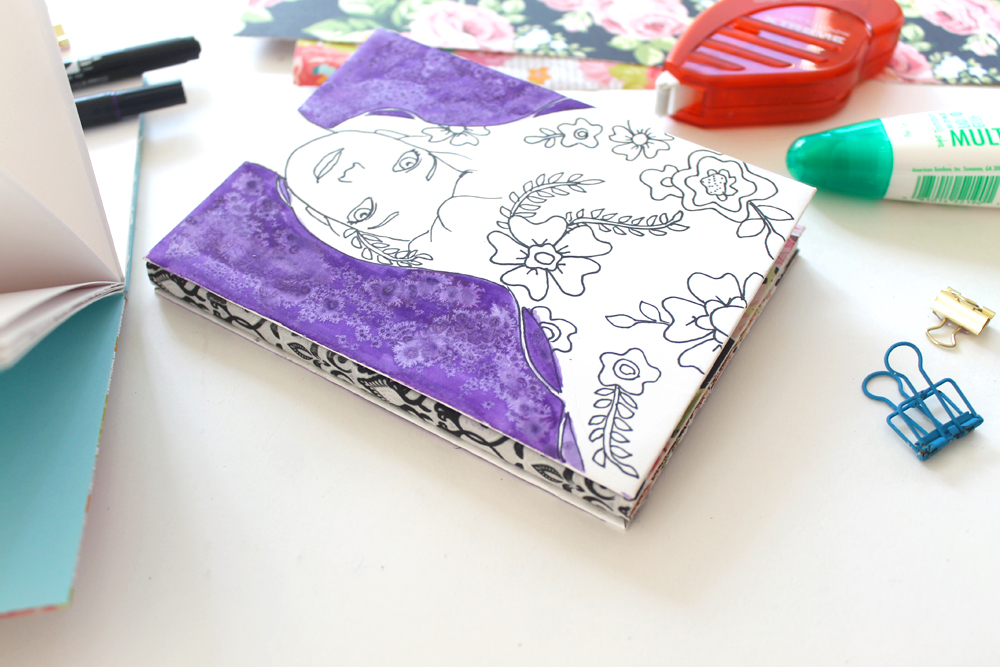
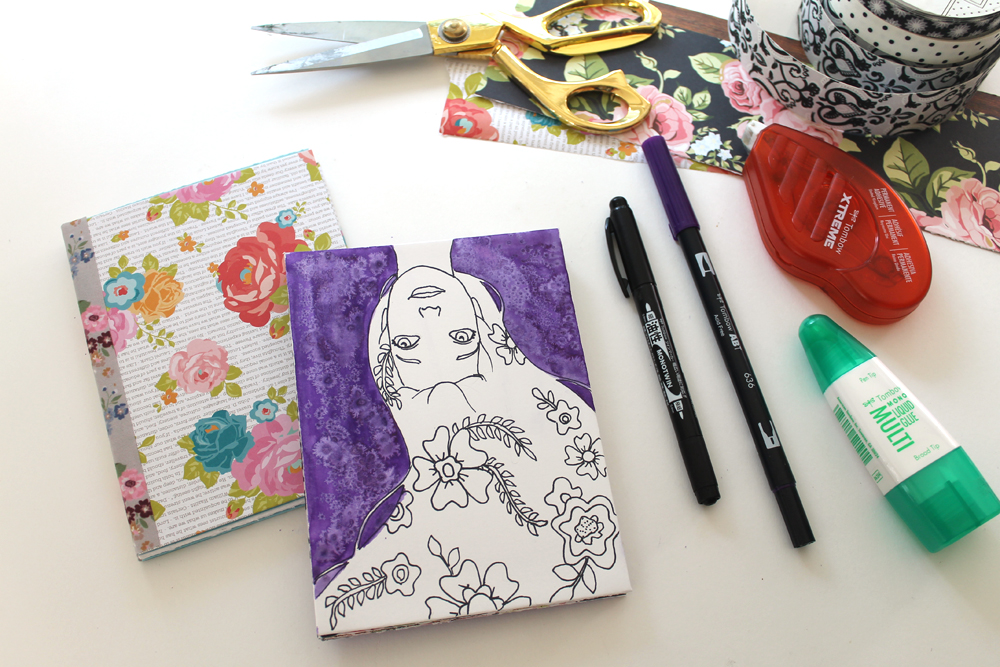
10. All that's left is to embellish your cover! I drew on this floral girl with the MONO Twin Permanent Marker.
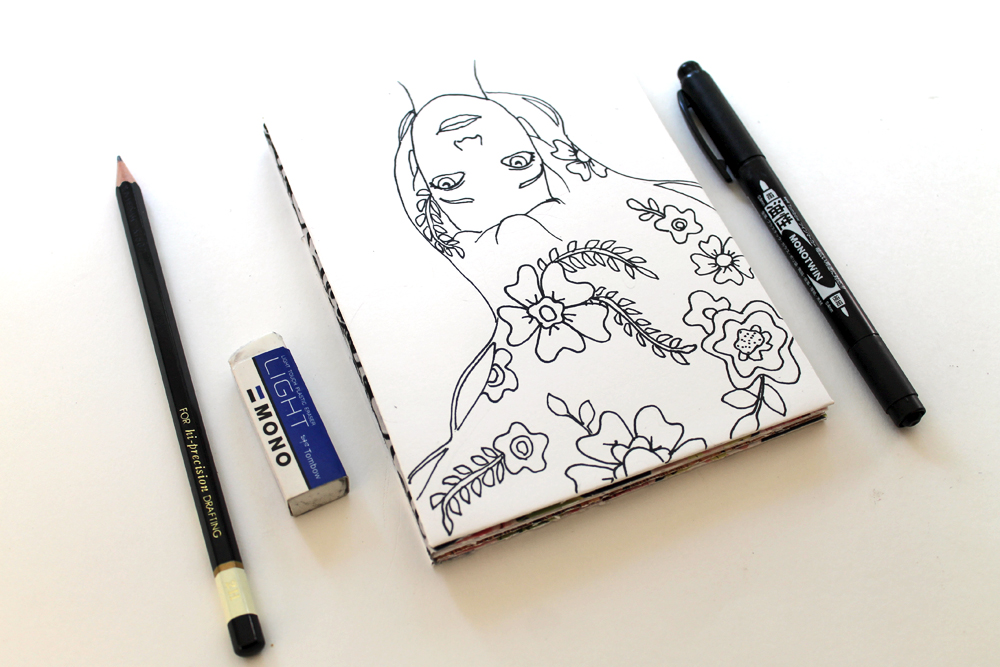
11. Color around your drawing with a Dual Brush Pen, brush the ink with a wet paint brush and then sprinkle on a bit of salt. I LOVE how the ink reacts to the water and salt. This is my favorite effect.
I used Dual Brush Pen 636.
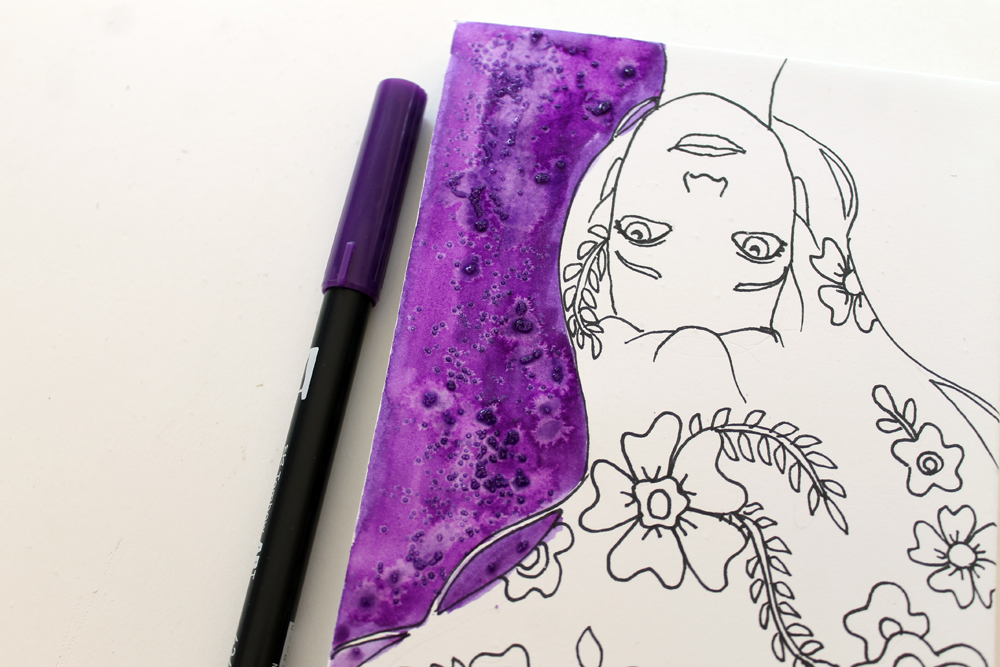
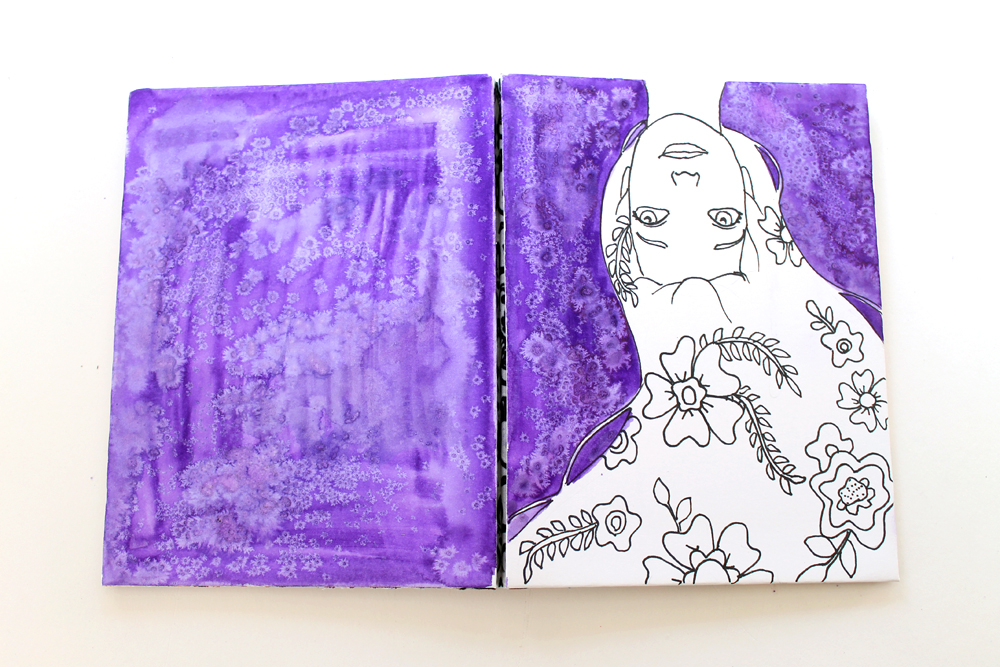
And that's it! You've made a Perfect Bound journal! It's completely no-sew thanks to the MONO Multi Glue!
You can customize this to fit your style- try a patterned paper cover, or add the fabric tape on last so that it shows over top of your covers, you could even make it a junk journal by creating the paper signatures out of painted papers, book pages, etc.
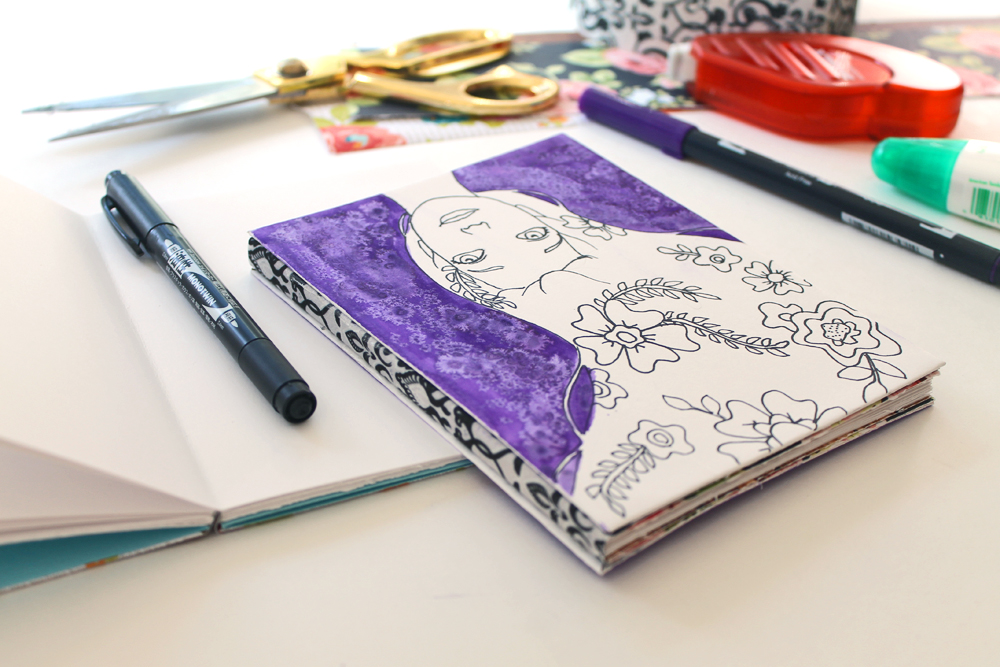
Have you done the Perfect Binding technique before? I'd love to know!
This post is a part of my final application process for the Tombow 2018 Design Team. Wish me luck!